SPA3k
Cisco Linksys SPA3K setup for SAIL V3
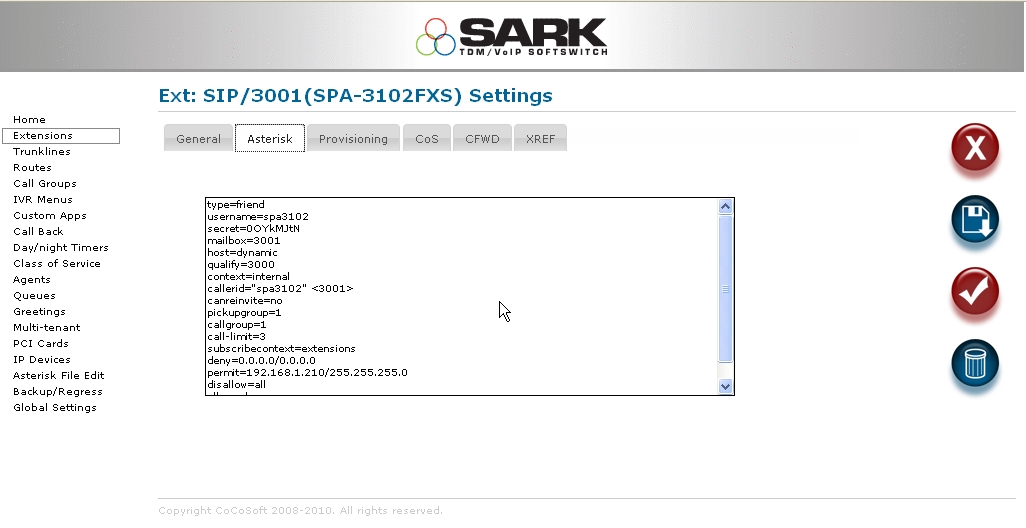
Here are some set-up instructions for the SPA3K range of SIP ATA/Gateways. These little gateways can be very confusing if you are unfamiliar with SIP; they have a bewildering array of settings. From SARK's viewpoint, the SPA appears as 2 devices; an extension and a trunk. Here are screenshots for setting them up.
..First the extension
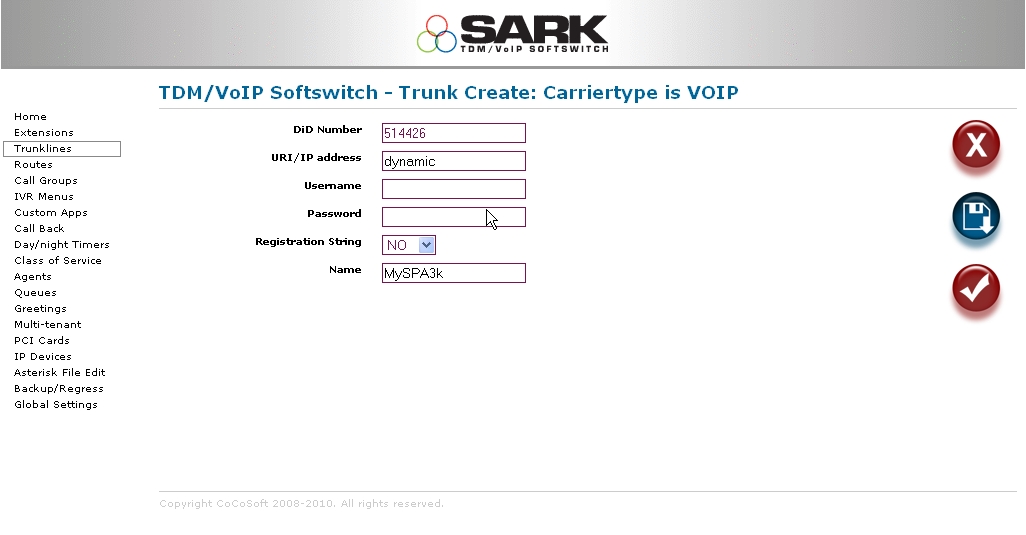
..and now the trunk. Notice that in the trunk we don't fill anything out except the DiD we want to send calls into, the host(dynamic), and we give it a name to recognise it.
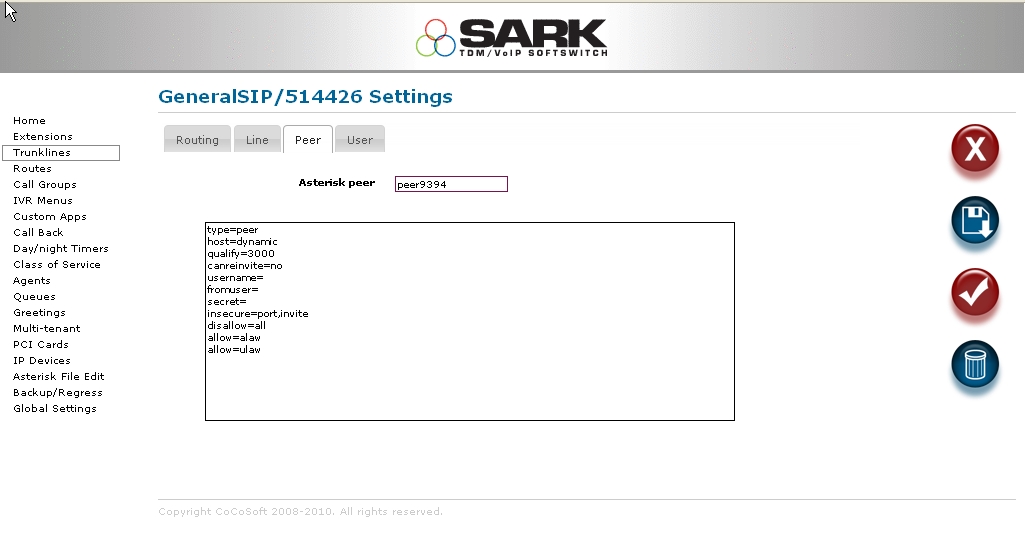
Once the trunk is created, you should also, for security reasons, use a password (secret) and you would also fill this out in the spa3k browser. we haven't used on in the example, but we would for a real trunk. Also, make a note of the peername (which in -103 appears on the peer screen and you can change it if you wish).
Now we can fill out tyhe details in the spa3k. Select the Line tab in the spa3k browser. Fill it out as shown below (don't forget the dialplan or your spa3k extension won't be able to dial out.
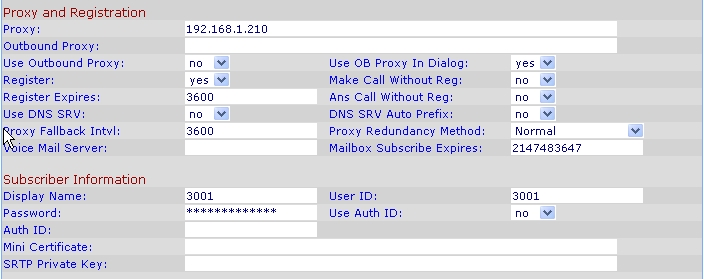

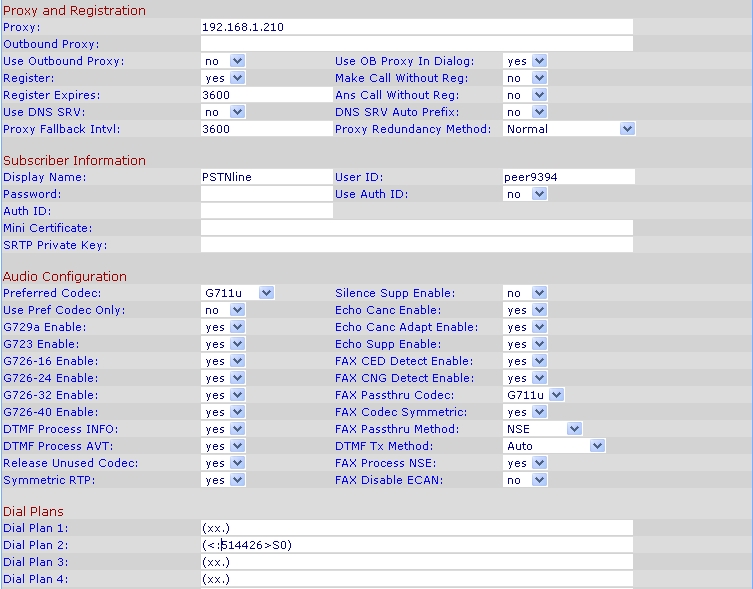
Now select the PSTN line panel and fill out proxy ip (IP of Asterisk), a display name (whatever you like), the userID should be the same as the peername which Asterisk has generated for the trunk. In our example it is peer9394. Password should be the same as the secret in the trunk.
The other important field is the dialplan 2 setting. In our example, we've used entered (<:514426>S0). The 514426 is the DiD which will be used to send calls in from this device (which links back to the original DiD we used to create the SARK trunk entry.
Save your changes and the spa3k should register twice; once as an extension and once as a trunk. It is now ready to use.
